Arts and crafts cabinet for the children's playroom
Build this must-have for the little artists in the family by following our simple step-by-step instructions. You can also download the instructions and detailed drawings as a PDF.
This arts and crafts cabinet with a swivelling table will make creative children's hearts soar. Glue, scissors and paper are always at hand. This will also bring more order into the playroom. The cabinet is brightly coloured and child-friendly thanks to Osmo Dekorwachs.
For this piece of furniture, among other things, two kitchen cupboards are needed, which must first be assembled. The upper larger cupboard is a kitchen base cabinet that is open at the top and is closed with a shelf board. The lower smaller cupboard has an additional drawer and a middle shelf.
The door of this arts and crafts cabinet offers space for creative children's art. It is given a coat of chalkboard paint for artworks made of chalk. A special highlight is the swivel table, which can be swivelled into a space-saving gap between the upper and lower cupboards.

What you need:
MATERIALS
- 1 kitchen cupboard with door and shelves 600 x 600 x 800mm
- 1 kitchen cupboard with drawer 600 x 600 x 400mm
- 1 Osmo Profi edge-glued panel Pine 800 x 1500 x 28mm for the table top (Ø 750mm)
- 1 Osmo framing wood Spruce 68 x 68mm as the table leg
- Castor wheel with locking brake
- Threaded screw m6 x 80mm
- Washers (m6), cap nuts and hexagonal nuts (m6)
- Various screws and dowels
- Osmo Dekowachs in different colours, e.g. 3125 Blue, 3104 Red and 3105 Yellow
- Chalkboard paint
TOOLS
- Drill screwdriver
- Wood drill
- Sander and sandpaper
- Osmo Flächenstreicher brush or Osmo Mikorfaserrolle roller incl. roller tray
- Paint roller

HERE'S HOW

1. Cut the table top (Ø 750 mm) with the jigsaw. Use a "makeshift compass" to draw the circle to cut out the table top. Hammer in a nail in the centre of the circle, draw the circle line around this centre point with string and pencil.

2. Sand the board for the finish and round off the edges as well. Then remove the sanding dust with a hand brush.

3. Coat the table top with Osmo Dekorwachs, which is perfectly suited to children's furniture. If an intense colour is desired, repeat the process (only for intense Dekorwachs colours, max. 2 coats).

4. Sand the table leg, round off the edges and stain with Dekorwachs.

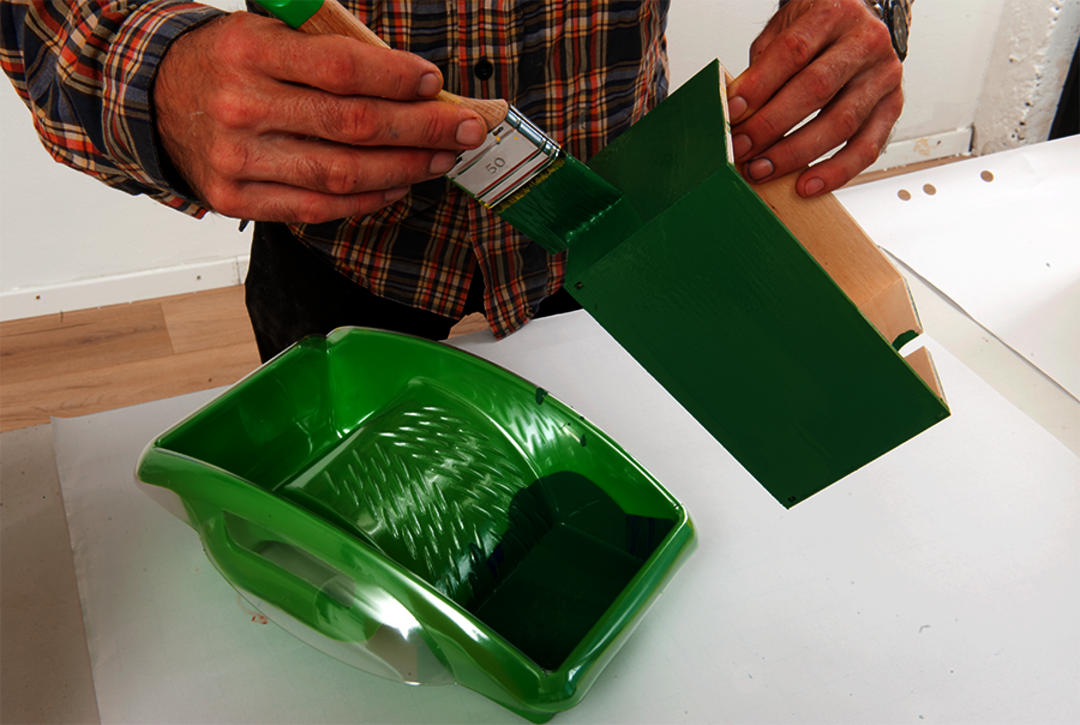
5. All Dekorwachs colour shades can be mixed with each other, so a green colour mixture is created by mixing 3125 Blue with 3105 Yellow. Various colour mixtures can be found on our website.

6. The cabinet interior can be designed as desired. In our project, we have used wooden boxes, which are coated with Osmo Dekorwachs in a green colour mixture.

7. After the front of the cupboard door has been roughened with fine sandpaper, it is coated with chalkboard paint. Then allow the paint to dry.

8. Hang the cupboards on the wall. Spacing: 38 mm (see drawing). Align the table top (flush on the left, 3 mm distance to the wall at the back). Drill the axle hole. To insert the washers, the top cupboard must be unhooked. Fix the washers (glue and tape) so that they do not slip when inserted.

9. Mount the brake locking castor to the table leg. Fix the table leg from above through the table top with two long screws. Finished!


